
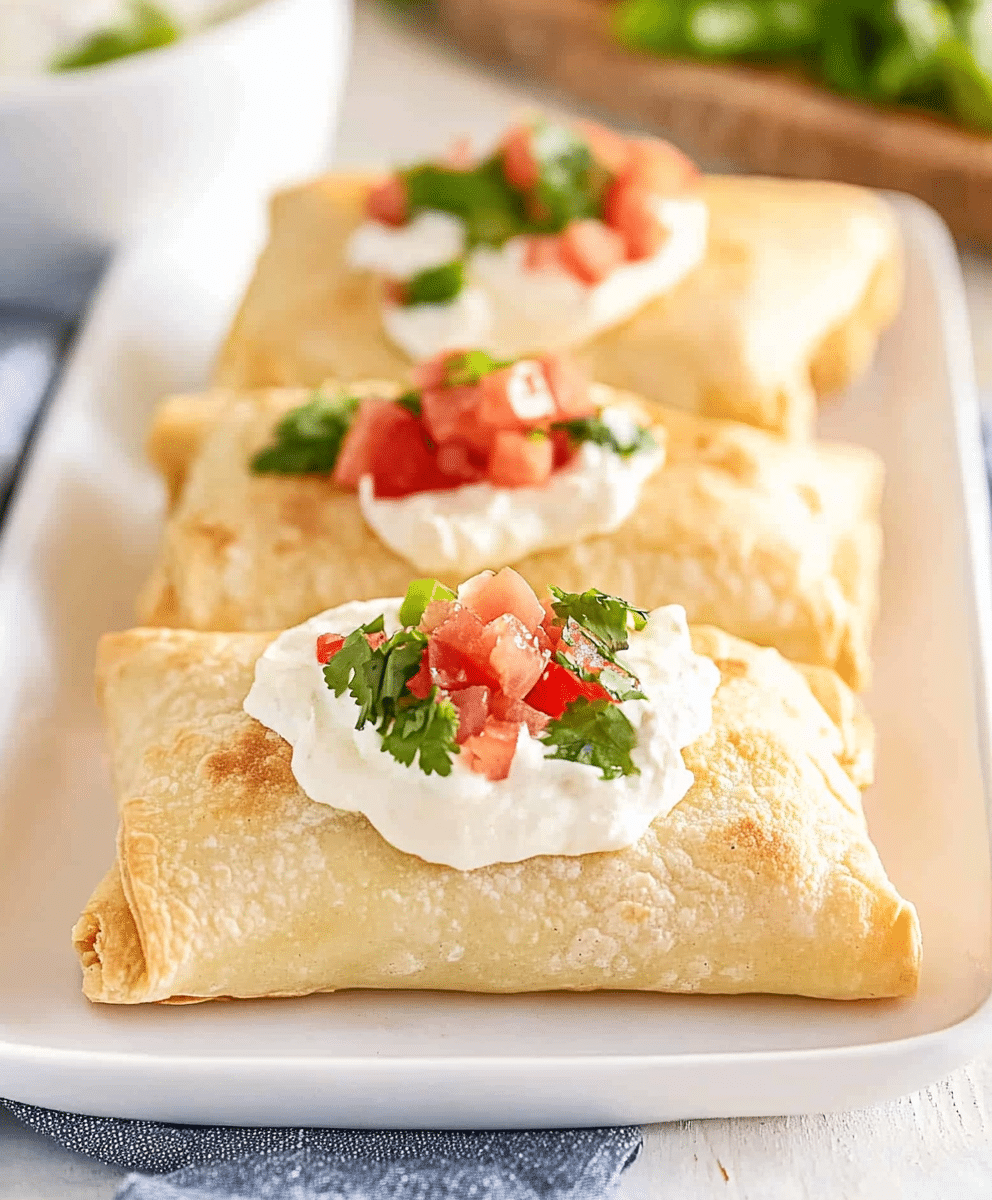
There's something irresistibly comforting about biting into a warm, crispy chimichanga filled with savory chicken, melty cheese, and a touch of spice. The golden crunch of the tortilla, the creamy filling, and the subtle heat all come together in the perfect handheld meal.

I first tried baked chicken chimichangas when I was looking for a healthier twist on a classic Tex-Mex favorite. Since then, it’s become a weeknight go-to in my home—easy, cheesy, and always a hit with everyone at the table. Whether you're feeding a crowd or just craving something indulgent without the fryer, this recipe checks all the boxes.
Let’s dive into what makes these baked beauties so lovable.
Why You'll Love This Baked Chicken Chimichangas Recipe
Get ready to meet your new favorite dinner idea. These baked chicken chimichangas have all the bold flavor and crispy texture of the original version, without the extra oil.
First, they’re incredibly easy to throw together. With just a few pantry staples and some cooked chicken, you can have dinner in the oven in under 15 minutes. It’s a dream for busy weeknights when the last thing you want is a complicated recipe.
They’re also a bit healthier than the traditional fried version. By brushing the tortillas with a little oil and baking them, you still get that satisfying golden crunch—no deep frying necessary.
Budget-wise, this meal is a winner. It uses affordable ingredients like tortillas, canned beans, and pre-cooked chicken, making it perfect for feeding the whole family without breaking the bank.
And don’t forget how versatile these are. You can swap out ingredients based on what you have—leftover turkey, rotisserie chicken, or even veggies. They’re a great clean-out-the-fridge meal that always tastes like a treat.
Now that you're excited to try them, let's take a closer look at the ingredients.
Ingredient Notes
The beauty of these baked chicken chimichangas is how simple yet flavorful the ingredients are. Each one contributes to the overall taste and texture in a big way.
Flour tortillas are the essential wrapper for chimichangas. Go for the large burrito-size ones so you can pack in plenty of filling and still get a neat fold. Smaller tortillas can work in a pinch but tend to tear more easily and don’t hold as much.
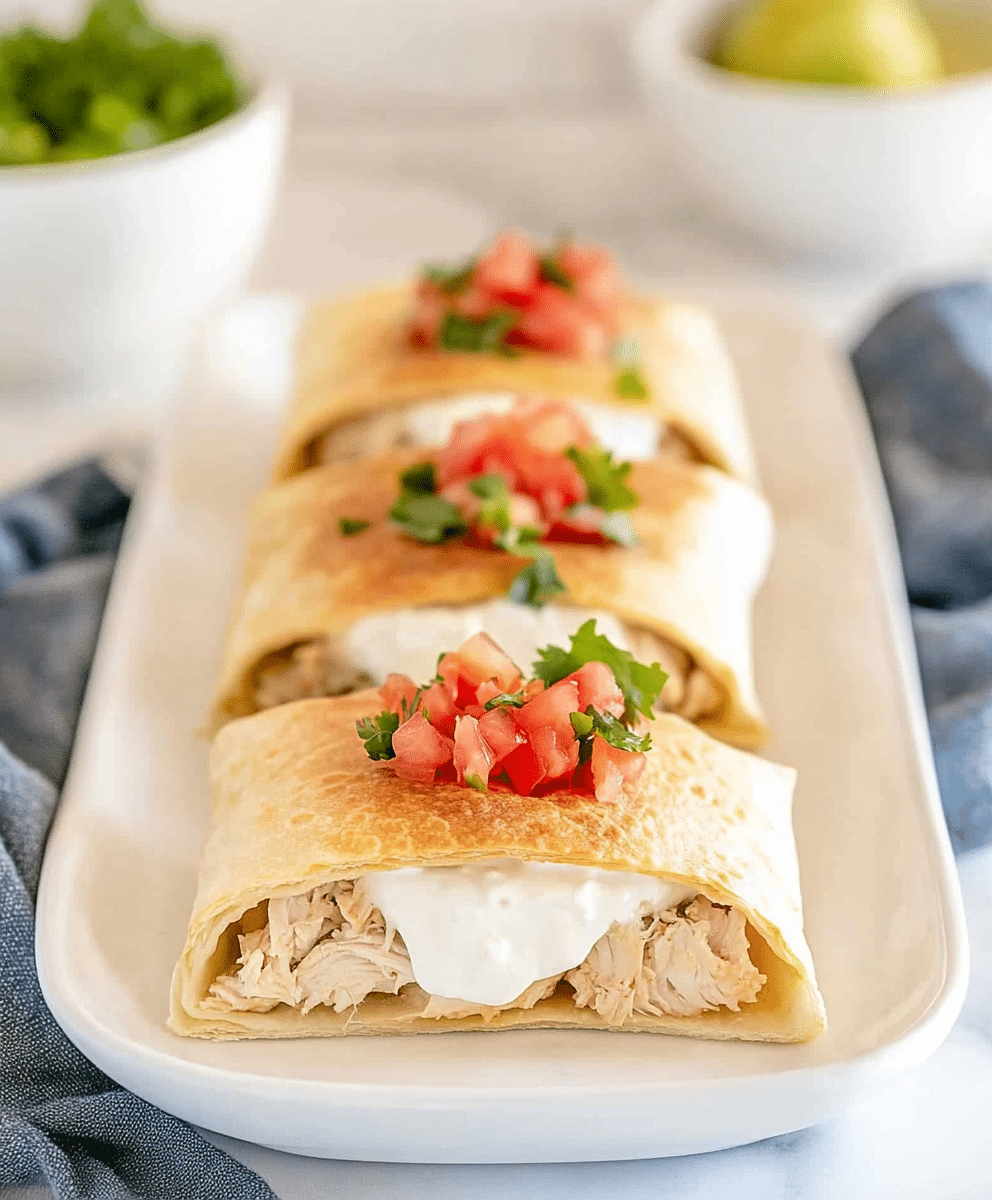
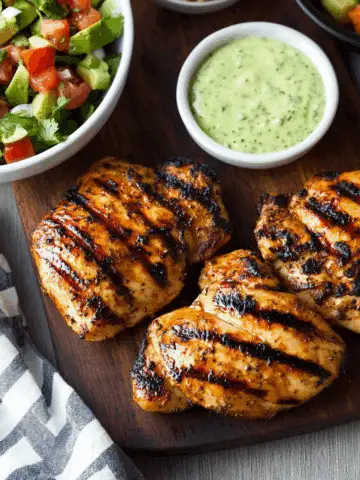
Cooked chicken forms the hearty base of the filling. I usually use shredded rotisserie chicken for convenience, but leftover grilled or roasted chicken works perfectly too. The key is to shred it finely so it mixes well with the other ingredients and stays evenly distributed.
Refried beans add creaminess and body to the filling. They help hold everything together and provide that satisfying, slightly smoky flavor that makes chimichangas so special. You can use canned refried beans or homemade if you prefer.
Cheese is the melty magic that binds it all together. Monterey Jack and cheddar are both excellent choices for this recipe. They melt beautifully and complement the spices in the filling without overpowering them.
You’ll also want a few pantry staples like cumin, garlic powder, and salsa or enchilada sauce to add depth and moisture. A little olive oil brushed on the outside helps the chimichangas crisp up beautifully in the oven.
No special equipment is needed here—just a baking sheet, some foil, and your trusty oven.
How to Make This Baked Chicken Chimichangas Recipe
Making these chimichangas is a straightforward process, and once you try it, you’ll likely find yourself coming back to it often.
Start by preheating your oven to 400°F. While it heats up, line a large baking sheet with foil for easy cleanup. Lightly grease it or use parchment paper to keep the chimichangas from sticking.
In a large mixing bowl, combine your shredded chicken, refried beans, cheese, and seasonings. Add a few spoonfuls of salsa or enchilada sauce to moisten the mixture—it should be thick but spreadable. Mix everything thoroughly so each bite is packed with flavor.
Warm your tortillas slightly in the microwave to make them easier to fold. Place a generous scoop of the filling in the center of each tortilla. Fold the sides in, then roll them up tightly from the bottom to form a secure burrito-style wrap. Make sure the seam is on the bottom when you place them on the baking sheet.
Brush the tops and sides with a little olive oil to encourage browning. Pop them in the oven and bake for 20 to 25 minutes, flipping once halfway through, until the chimichangas are golden brown and crispy on all sides.
Total hands-on time is about 15 minutes, and the whole recipe can be done in under 45 minutes from start to finish. Expect crispy exteriors, gooey insides, and smiles all around.
Storage Options
If you have leftovers (which is rare in my house!), these chimichangas store wonderfully. Let them cool completely before transferring them to an airtight container.
In the fridge, they’ll keep for up to 4 days. To reheat, pop them in the oven at 375°F for about 10-15 minutes or until warmed through and re-crisped.
They also freeze beautifully. Wrap each baked chimichanga tightly in foil or plastic wrap, then place them in a freezer-safe bag. They’ll stay good for up to 2 months. When you're ready to enjoy, bake from frozen at 375°F for 25-30 minutes.
Variations and Substitutions
One of the best things about this recipe is how customizable it is. Whether you’re adapting to dietary needs or just switching things up, there’s room to play.
Want to go vegetarian? Swap the chicken for sautéed peppers, onions, and mushrooms. Add some corn or black beans for extra texture and protein.
You can also use ground beef or shredded pork instead of chicken. Season it with taco seasoning or your favorite spices to keep things flavorful.
Not a fan of refried beans? Try using black bean spread, mashed sweet potatoes, or even a smear of cream cheese for a totally different vibe.
For a low-carb version, you can use low-carb tortillas and pack them with veggies and lean protein. They’ll still crisp up beautifully in the oven.
Feel free to get creative with toppings, too. Sour cream, guacamole, shredded lettuce, or a drizzle of hot sauce can take these chimichangas from tasty to totally over-the-top delicious.
Don’t be afraid to make this recipe your own. Once you’ve tried the basic version, you’ll find a hundred ways to tweak and personalize it to fit your cravings.
PrintBaked Chicken Chimichangas Recipe
This Baked Chicken Chimichangas recipe offers a healthier, oven-baked alternative to traditional deep-fried favorites. Packed with shredded chicken, beans, gooey cheese, and bold spices, each chimichanga is wrapped in a golden, crispy tortilla. It's a perfect dinner for busy nights and a flavorful way to enjoy Mexican cuisine with less oil and more crunch.
- Prep Time: 15 minutes
- Cook Time: 25 minutes
- Total Time: 40 minutes
- Yield: 6 chimichangas
- Category: Dinner, Main Course
- Method: Baking
- Cuisine: Mexican-American
- Diet: Gluten Free
Ingredients
-
2 cups cooked, shredded chicken
-
1 cup refried beans or black beans
-
1 cup shredded cheddar or Mexican cheese blend
-
½ cup salsa
-
1 tsp cumin
-
½ tsp chili powder
-
½ tsp garlic powder
-
Salt and pepper to taste
-
6 large flour tortillas
-
Cooking spray or melted butter for brushing
Instructions
-
Preheat oven to 400°F (200°C).
-
In a large bowl, mix chicken, beans, cheese, salsa, and spices.
-
Spoon mixture into the center of each tortilla, fold sides, and roll tightly.
-
Place seam-side down on a baking sheet and brush with cooking spray or butter.
-
Bake for 20–25 minutes or until golden brown and crispy.
-
Serve with sour cream, guacamole, or salsa.
Notes
-
You can substitute chicken with ground beef or turkey.
-
Add jalapeños or hot sauce for extra heat.
-
Leftovers reheat well in an air fryer or oven.
Nutrition
- Serving Size: 1 chimichanga
- Calories: 350
- Sugar: 2g
- Sodium: 600mg

Leave a Reply